Probably like you, I started using Pinterest as a “save it for later” kind of vision board tool. I’d pin some travel inspiration photos onto my holiday board or some easy oven-baked veggie recipes for my next dinner party. Until I realised the potential of this platform, I was treating Pinterest like any other social media platform. Except it’s not a social media platform. It’s so much more than that.
Pinterest is a search engine tool. Think of it as a more visual version of Google, where you can get many of your questions answered there.
Once I started using Pinterest properly, my website traffic grew from a few hundred visitors a month to over 20k a month, then doubled, and still growing!
Can you imagine how much I wish I started this sooner?
Using Pinterest marketing to drive traffic to my website has been the BEST THING I’ve ever done for my business. Many of my blog posts and pages are on the first page of Google, and I want the same for you!
So, without further ado, let me share my Top 5 Pinterest Tips to Increase Website Exposure.
FTC disclosure: This post contains affiliate links, which means I may receive a commission for purchases made through my links.
Top 7 Pinterest Tips to Increase Website Exposure:
1, Get Into Your Potential Clients’ Shoes
Whilst a pin going straight to a product works sometimes, it’s very rare that you’ll get a sale straight away.
When you think about how you use Pinterest, you probably start with the research process first. As much as you want your clients to pull out their wallets right there and then, that’s often not the case.
After doing some research, you most likely find yourself in the discovery phase where you come across different brands and you pin them onto your boards for when you’re ready to buy later.
So, before we start creating pins, make sure you get into the shoes of your potential clients and ask yourself how you can warm them up with your offers.
- What do they need before deciding on their purchase?
- What are some obstacles that may prevent them from buying?
- How can you help guide them through the process?
Once you answer those questions, go ahead and create useful content around those topics that will eventually become pins on your Pinterest.
How many pins should I create? Great question, let’s move onto the next point.
2, Don’t Stop After The First Pin
If you’ve created one pin and wondered why your post hasn’t gotten much traffic, well, you need a lot more than just one pin to get the attention of your potential clients. Mind you, if it’s a really awesome pin, it may have the potential to go viral.
Of course, I always go for quality over quantity. In saying that, you need to create multiple pins per content (or resource) to increase your exposure on Pinterest.
Say, if you’ve written a blog post, you’d want to have at least 10 pins with a mixture of images only and text-based graphics. There’s no magic number, I just like to start with 10.
By doing that, you can test which ones work best for your niche and you can do more of those. Every business is different, so you’ll want to do some experimenting.
Pro tip: The more pins you have on Pinterest, the higher the chance of them being seen online.
3, Create Vertical Images for Pinning
Most people use Pinterest on their mobile phones and the app also suggests that you upload vertical images with 2:3 aspect ratio.
Not only do they need to be vertical, they should be eye catchy and pleasing to the eye.
Note: Vertical means long and tall rather than wide.
Here are some recommended dimensions for your images:
600 (w) x 900 (h) px | 1000 (w) x 1500 (h) px | 1200 (w) x 1800 (h) px
You only have a few seconds to capture the attention of your potential client. Put yourself in their shoes and think about how quickly you scroll through your Pinterest feed.
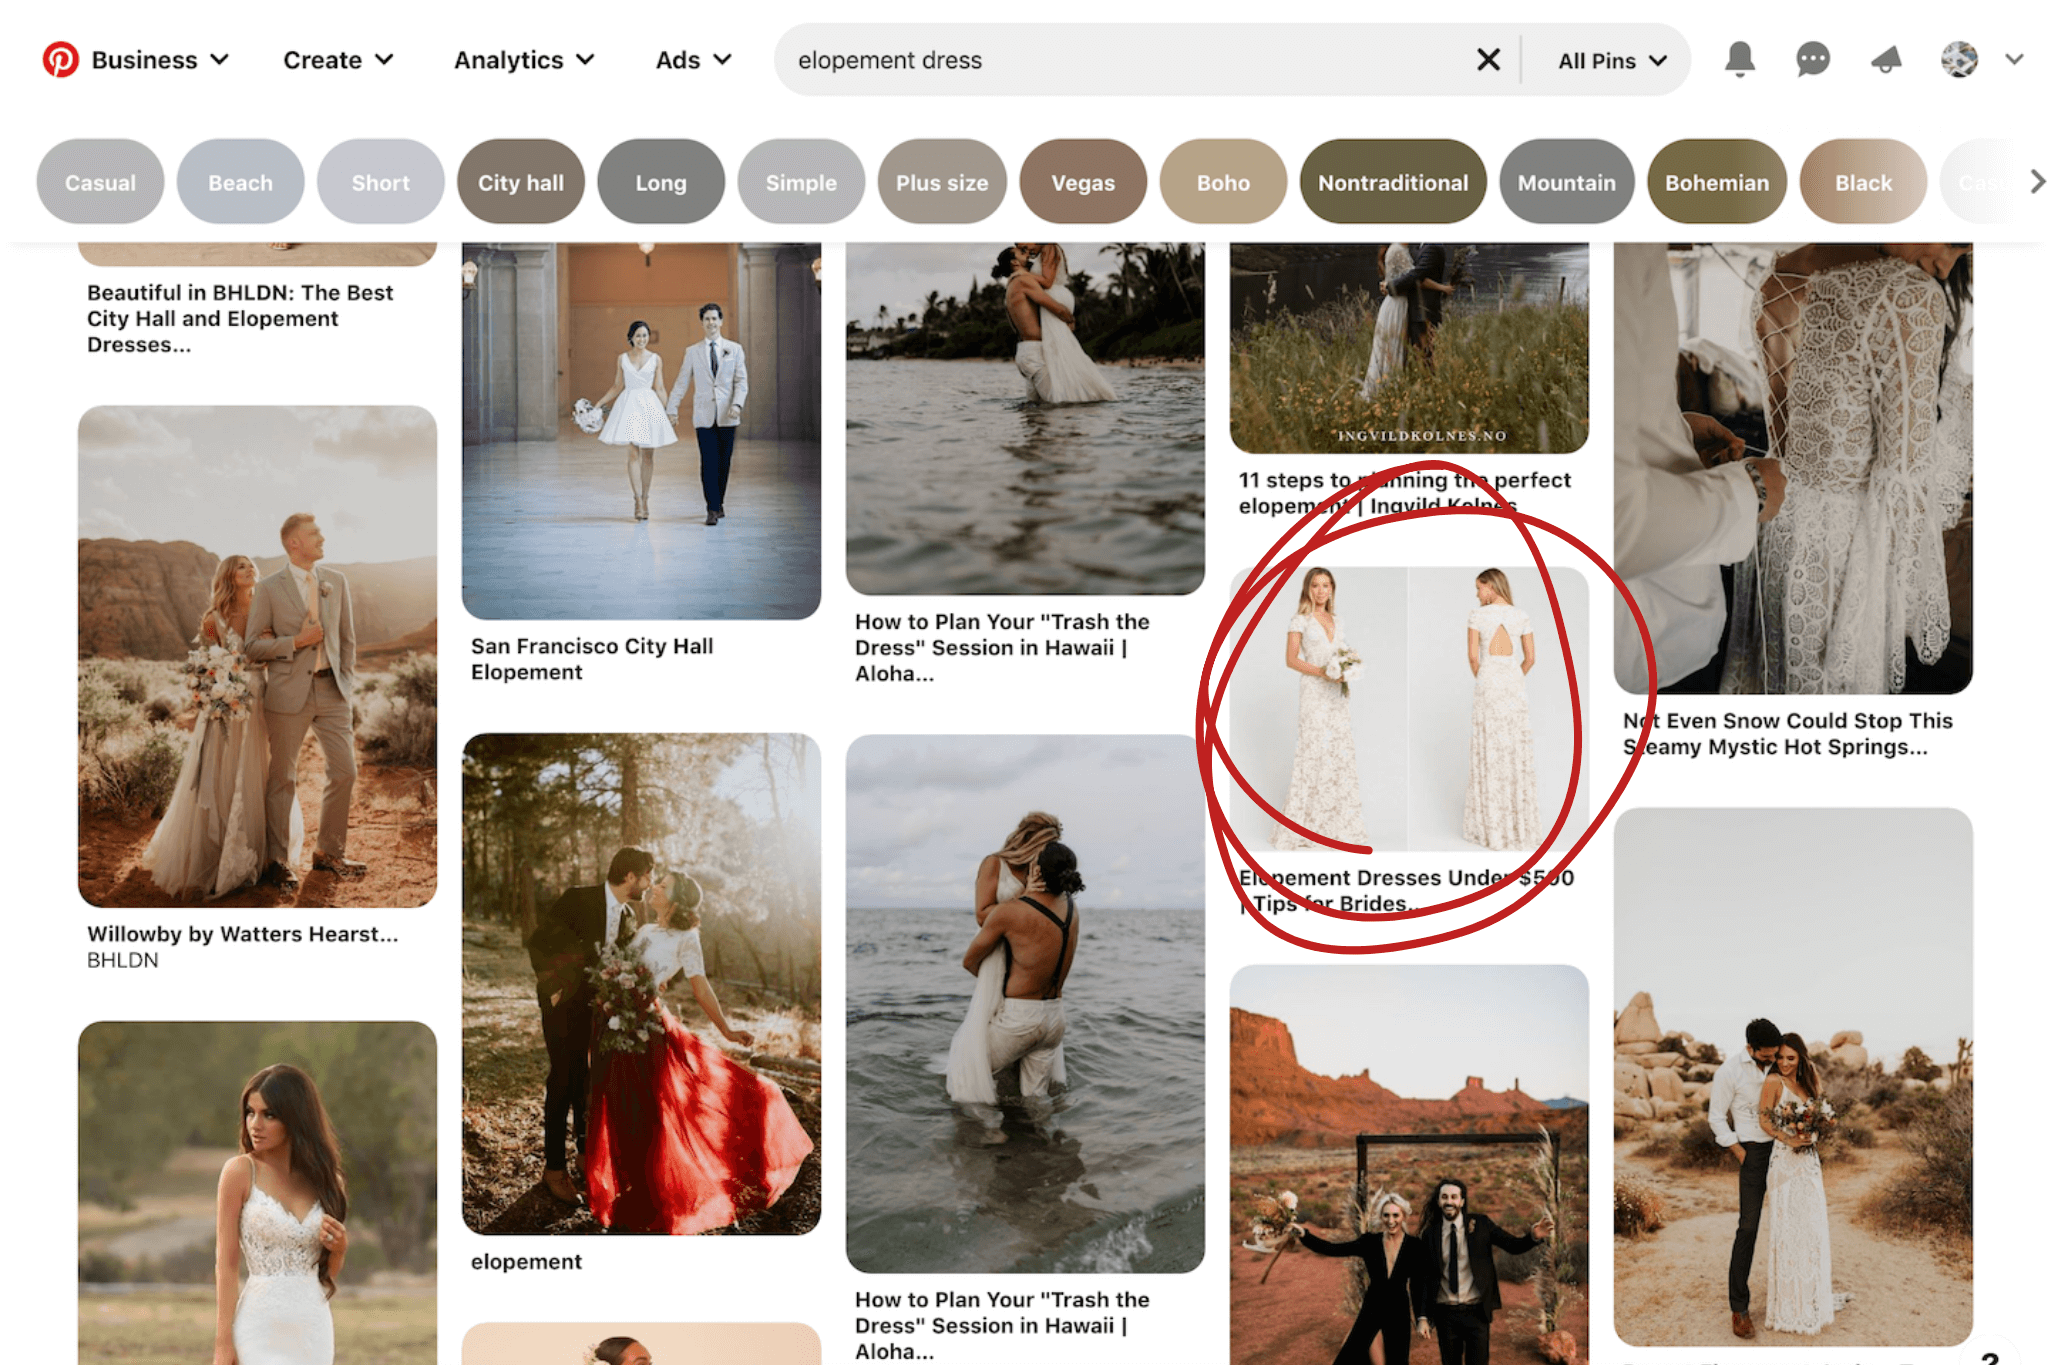
When your image is short and wide, it’s so easy to get lost in a pool of beautifully designed images.
By looking at the image above, the circled image would have been so much better on top of each other instead of side by side.
You don’t have to be super tech-savvy to create pin-worthy images, but it does take a bit of time and effort to test the best images. Once you get a hang of it, you can reuse the same design templates over and over again.
There are so many easy-to-use graphic design programs that can help you do that, e.g. like Canva and PicMonkey. If you prefer to have someone design for you, you can check out Fiverr or hire a professional graphic designer.
4, Include an URL to Your Website
There’s nothing worst than stumbling upon a beautiful image and clicking onto it to find that it goes nowhere (or the URL is invalid).
When you think about it, most of us click on an image, because we either want to know more about the product or buy it ASAP!
Make sure your pin is ALWAYS linking to your website, so you don’t lose any of your leads.
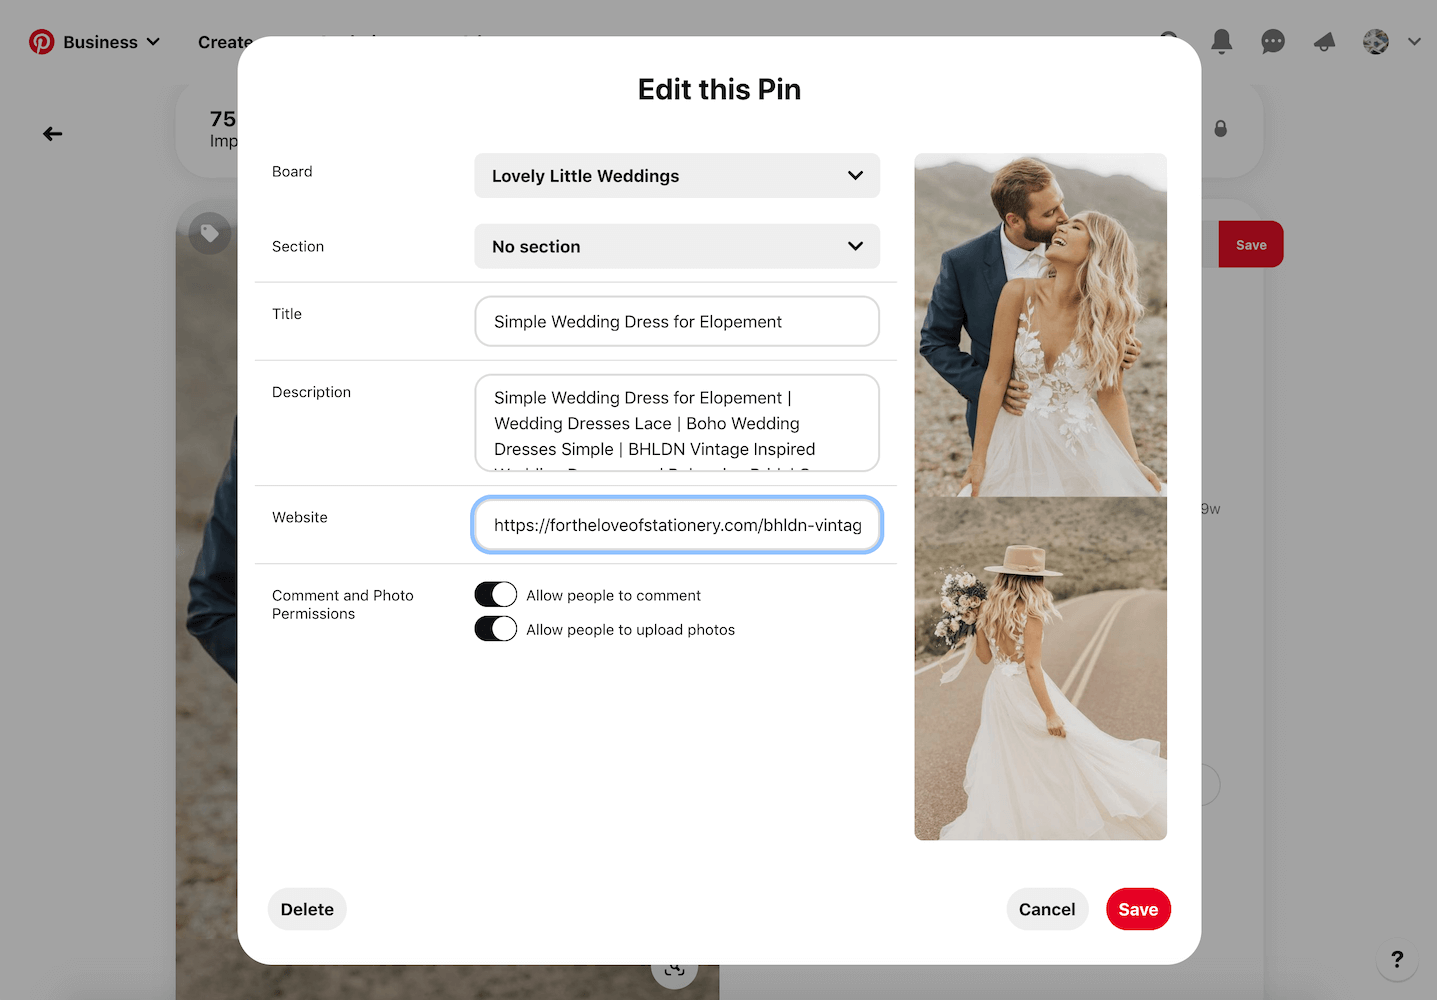
*Notice that this image is nice and long which easily catches people’s attention whether they are on the phone or desktop. It’s no accident that this pin has already received over 500k of impressions, 25k of closeups, thousands of saves and link clicks in just a few short weeks.
5, Create Your Own Boards
The idea of having your own boards is to organise your pins and have different categories for them. It’s highly recommended that you don’t only pin your own images, but you spend time pinning other people’s content as well.
Creating your own boards also gives you an opportunity to connect with your potential clients. Since they are searching for those things anyway, it might as well be your boards that they follow which means there’s a higher chance that they would come to you for your business.
In other words, think of the things that your customers would love and create those boards accordingly.
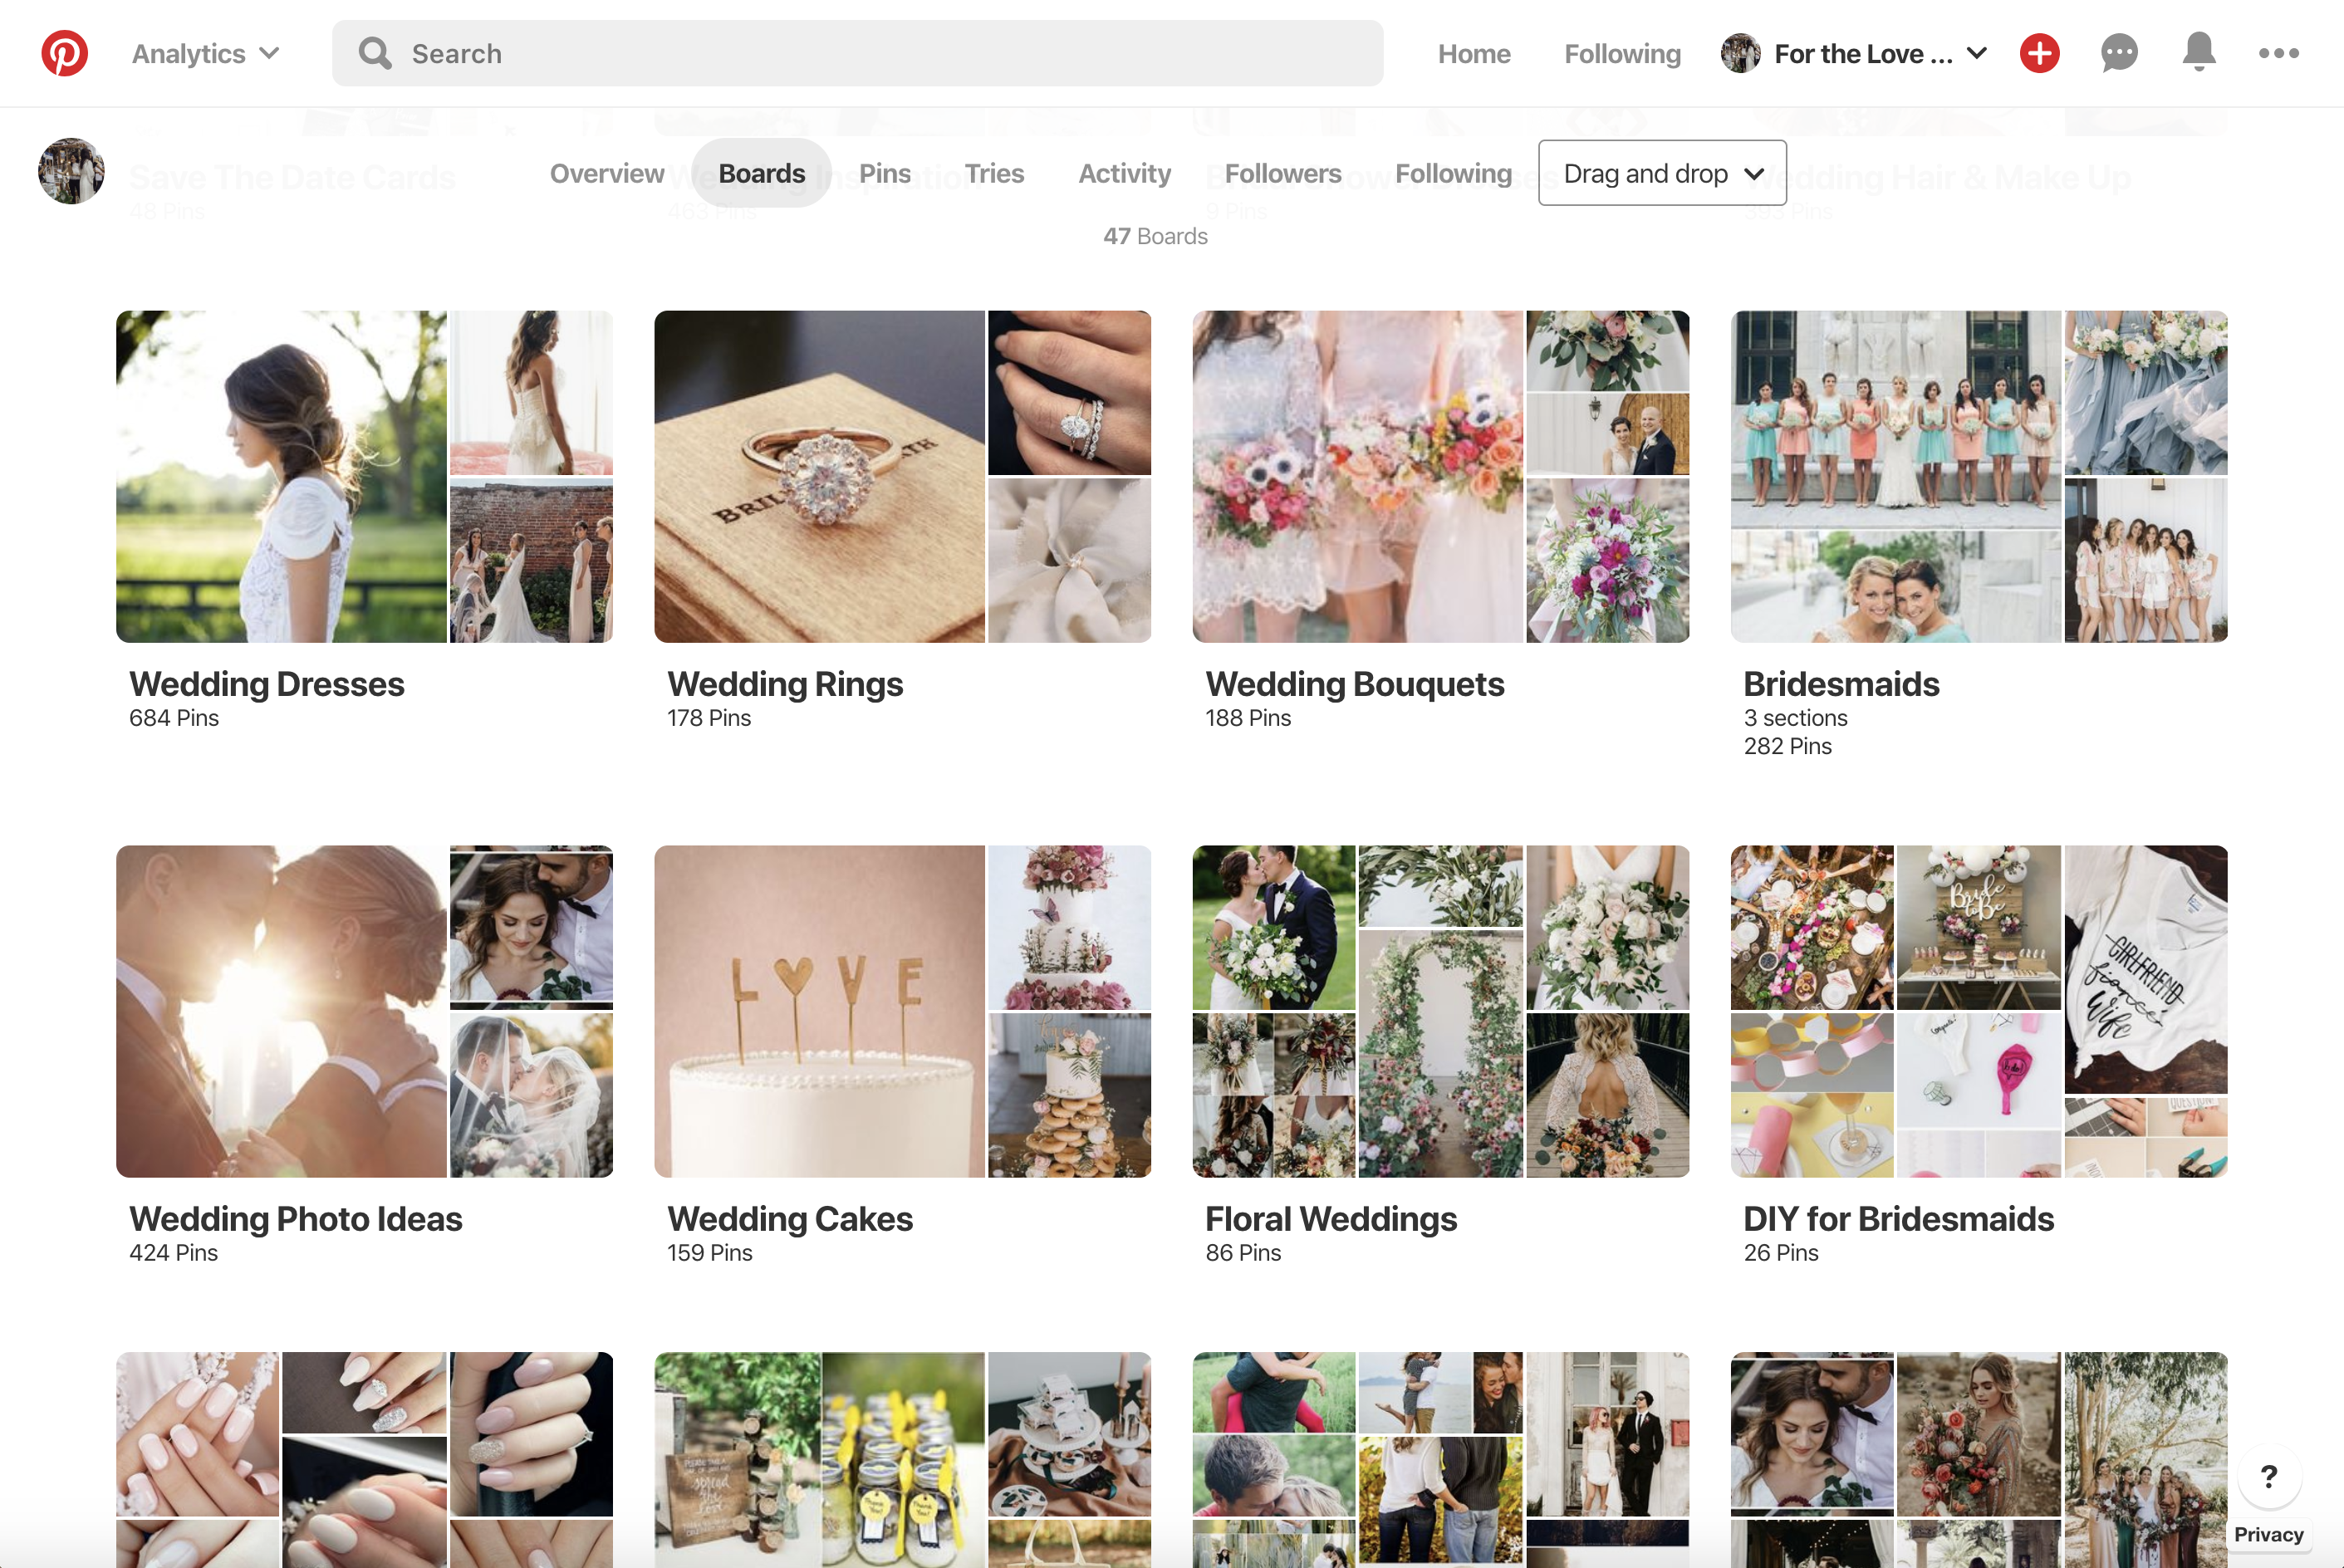
For example, for my wedding business, I had wedding dresses, wedding rings, wedding bouquets, etc.
Do you see a theme? These are the things that brides would be looking for when they are planning their wedding day.
6, Find Awesome Group Boards to Join
If you want your pins to have more exposure, it’s so important to collaborate with others.
That’s right, you need to join some awesome group boards on Pinterest!
A group board is essentially where multiple users can pin their images onto a shared board in return for some quick exposure.
All you need to do is search “*Your Niche* Pinterest Group Boards” on Google and you will find a list of group boards to join. Guess what, they don’t cost a thing!
Since it doesn’t require you to pay anything, there is a few steps to request to join.
From my experience, a group board owner would usually ask you to follow their Pinterest account, comment on a particular post or email them your Pinterest url.
Be sure to read the description on their group boards for instructions to join!
If you don’t get an invitation or hear from the group board owners immediately, just be patient because they generally get a lot of requests and they want to make sure the people they invite will be sharing quality and relevant content.
7, Automate Your Pins
I’ve saved the best till last. This is actually my secret weapon that got many of my blog posts on the first page of Google. Ain’t nobody got time to sit and pin every single day, right? I did that many years ago, but it’s definitely not viable in the long run.
So, sign up for a Pinterest scheduling tool to automate all your pins and let it run for you while your sleep.
Having an automated Pinterest scheduling tool will SAVE YOUR LIFE.
I used Boardbooster for a long time and it was fantastic in helping me get my pins out there. Unfortunately, it closed down in 2018 and I had to look for a new scheduling tool.
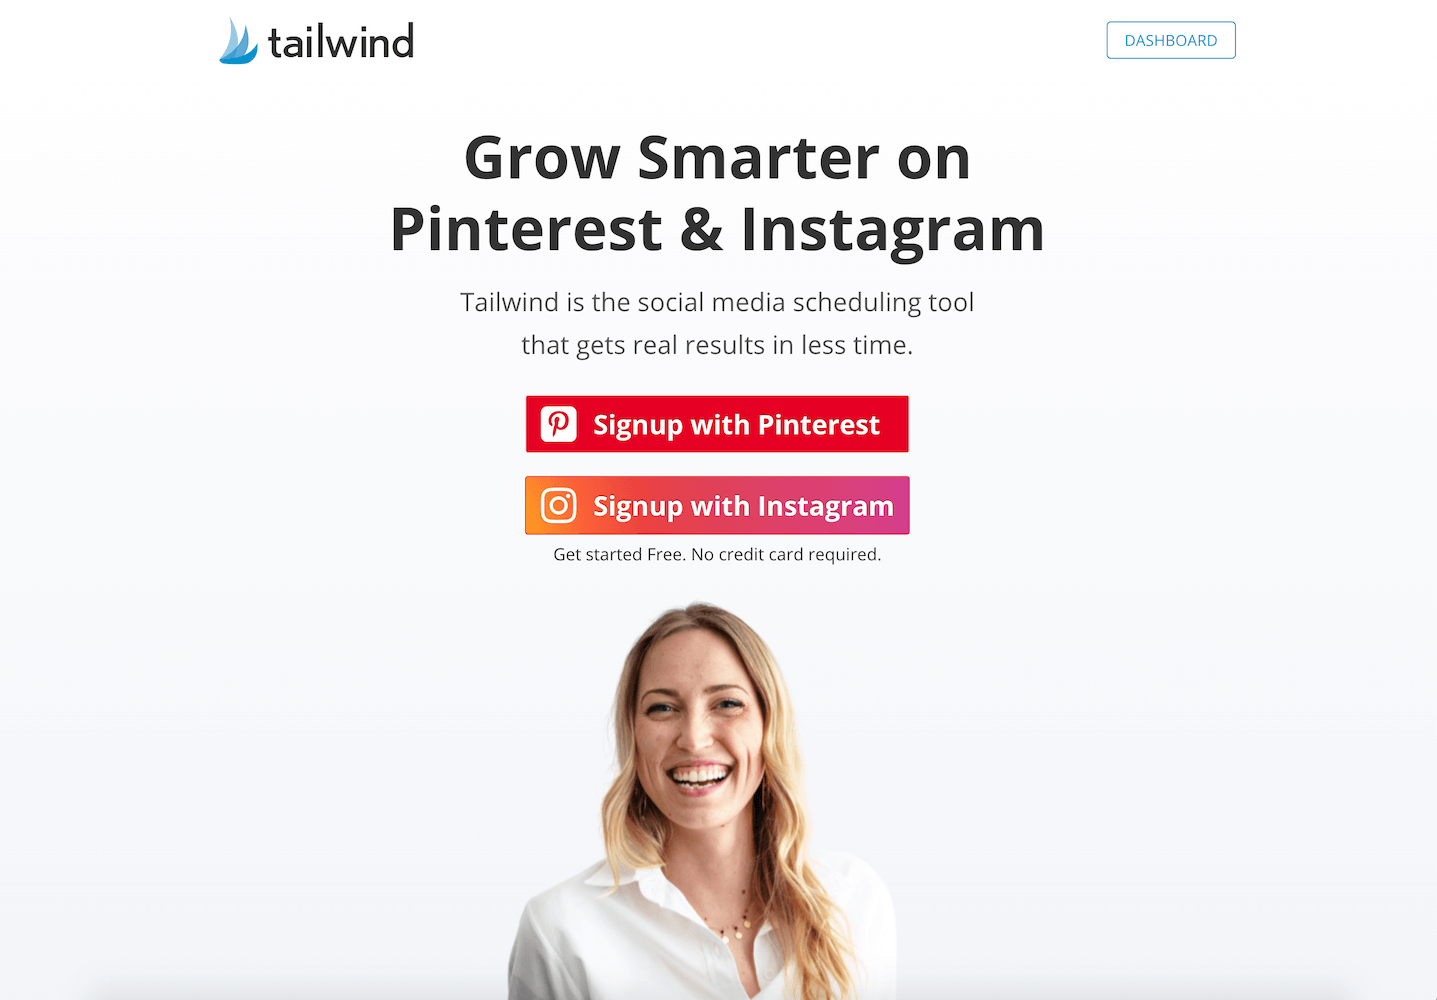
Luckily I found Tailwind, a social media scheduling tool that helps you post your pins at the best time. I’ve been using Tailwind to schedule my pins for the last few years, and I honestly don’t know how people manage their Pinterest without it.
As you can see, Tailwind supports other social media platforms too.
On average I spend less than an hour a week to schedule my pins and most weeks I don’t even have to, because I already have hundreds of pins scheduled to go out.
Tailwind saves you the time and effort from sitting there and pinning all day long.
You can try Tailwind for FREE now!
The FREE Forver Plan lets you schedule up to 20 pins on Pinterest and you don’t even need to pull out your credit card until you decide to join it. However, I think you’ll be sold because you’ll see how it really makes your life so much easier.
So, are you ready to use Pinterest to grow your business and get it on the first page of Google?
Leave your Pinterest url in the comments below and I’d love to check out your boards 🙂 x
Loved this blog post?
Choose your favourite image below and pin it on your Pinterest board for later.




0 Comments